hello again and happy Christmas month!
can you believe that it is December already? this year has quite possibly flown past us and 2017 is almost upon us and most importantly - Christmas!!! I am oh so very excited for Christmas this year as you know from previous blog posts.
Today I am bringing you the second post in The Christmas Edit and this post is going to be a wonderful yummy treat. I have made these twice now (once with cookie cutters and one free handed cutting) and both have worked really well and taste super yummy.
all you will need is:
a pre-made brownie (my recipe)
some white icing, again pre-made
green food dye (optional)
sprinkles or hundreds and thousands (optional)
cookie cutters or sharp knife
cutting board
spatula, knife or spoon to mix icing
bowl
piping bag or zip-lock bag
step one / use your cookie cutter (or knife) to cut out the trees from the brownie square, once you are done, set aside.
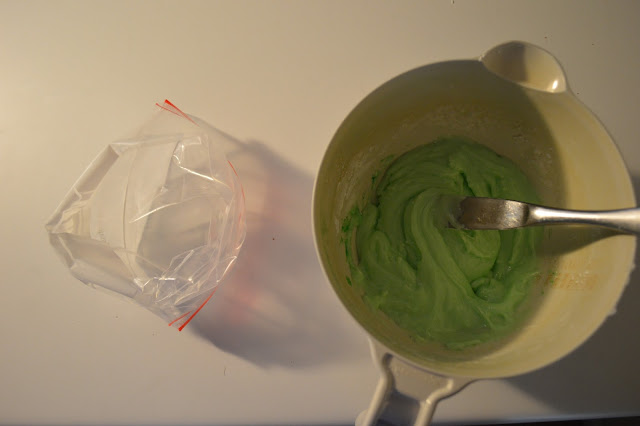
note: you will want your icing to be a little bit runny but not too runny to make piping easier.
step three / scoop your icing into a piping bag, seal and snip a a small triangle from the corner so you can pipe the icing.
step four / pipe your icing onto your trees in a zig-zag pattern, your zig-zag's can be spread apart or close together, it's up to you.
step five (optional) / dip your brownies with icing into a bowl of sprinkles, you could also sprinkle them on with your hand but I found that they didn't stick down too well so I just dipped them instead.
annnnnnnd your done! this recipe is so super easy to do and makes your brownies look so cool.
I packaged up my brownies in some clear cellophane
I hope you enjoyed today's post and have a go at making them yourself.
If you wish to take a look at some other Christmas posts and other posts in The Christmas Edit click here.
until next time,
brooke.


No comments:
Post a Comment